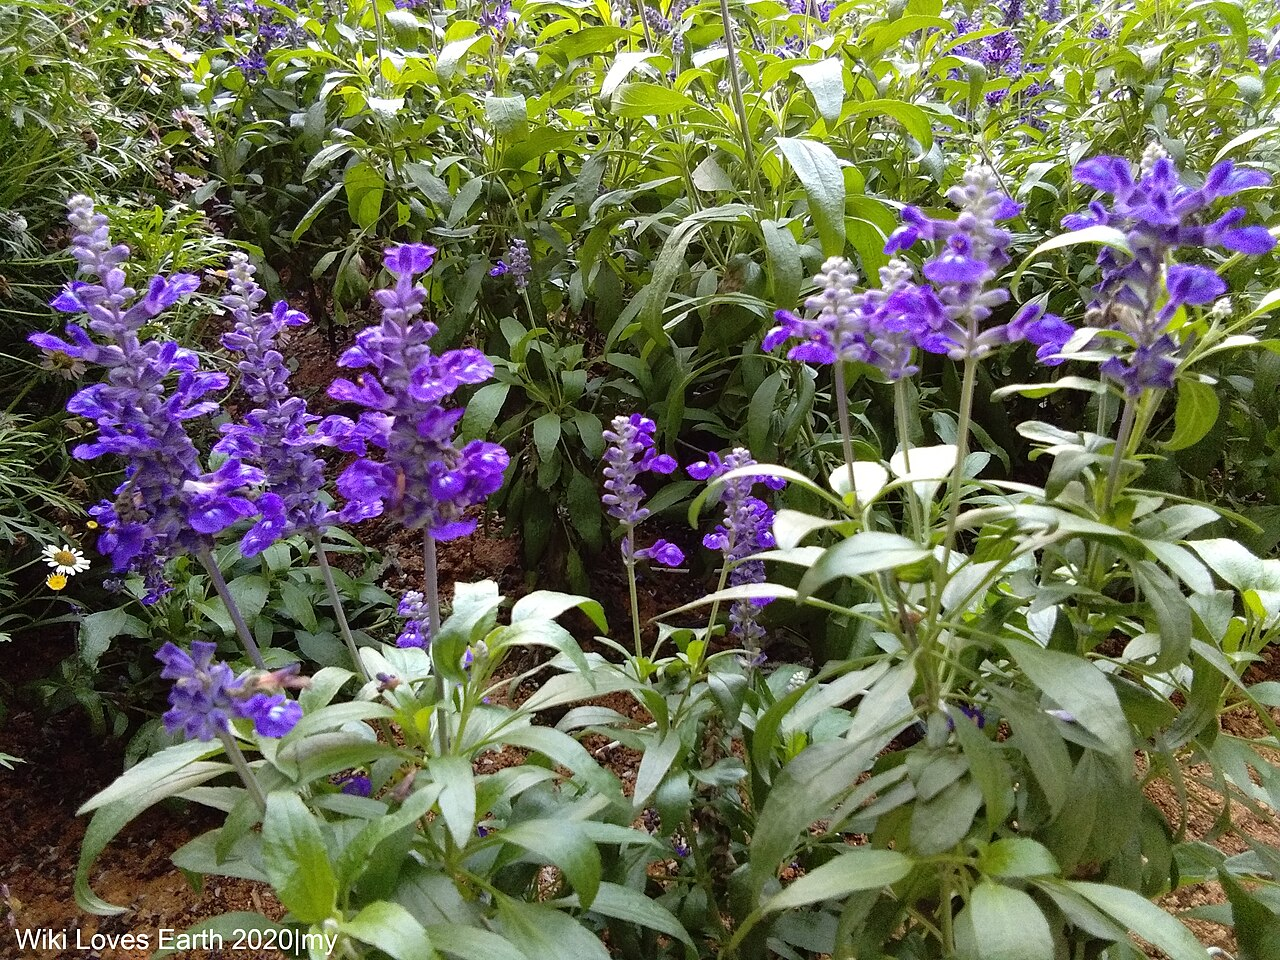
I have tried to grow lavender more times than I care to admit.
I planted the seeds.
I watered them.
I waited.
And waited.
And wondered why everyone else seemed to be growing beautiful lavender while my seeds seemed perfectly happy doing absolutely nothing.
Then I learned something that changed my luck with lavender:
Cold stratification can make a big difference when growing lavender from seed.
Nobody had told me.
Once I started treating those tiny lavender seeds as if they needed a little winter before they were ready for spring, I finally started having success.
And once I had established plants, I discovered another wonderful thing:
My lavender could reseed itself.
That was the beginning of my love affair with growing lavender.

🌸Lavender Is a Mint?
Yes!
Lavender belongs to the Lamiaceae family—the mint family. It is related to other familiar herbs such as basil, oregano, rosemary, sage and thyme.
The lavender most home gardeners think about for culinary and fragrant uses is often English lavender, Lavandula angustifolia.
It is a perennial and, with the right conditions, can reward you for years.
In Iowa and other Upper Midwest gardens, English lavender is generally one of the better choices for winter survival, although even hardy lavender can struggle if its roots sit in wet soil over winter.
And that brings us to the first rule of growing lavender.
Lavender Likes Sunshine & Dry Feet☀️
If you remember nothing else about growing lavender, remember this:
Lavender hates wet feet.
Lavender needs full sun and excellent drainage. Iowa State University Extension recommends at least six to eight hours of direct sunlight each day and warns that poorly drained soils can lead to root problems and winter losses.
If your garden has heavy clay soil, don’t simply dig a hole, drop in a lavender plant and hope for the best.
I learned that drainage matters.
A raised bed, berm or container can be a much better home for lavender when the native soil stays wet.
Lavender generally prefers neutral to slightly alkaline conditions and does not need rich, heavily fertilized soil. In fact, too much nitrogen can encourage leafy growth at the expense of flowers and it’s the flowers we want!
🌿 Nana Anne’s Garden Tip:
Don’t drown your lavender with kindness!
🌱The Lavender Seed Lesson I Wish I Had Learned First
Here’s where I finally stopped blaming myself for my failed lavender attempts.
Lavender seeds can be slow and uneven to germinate.
Iowa State University Extension now specifically recommends cold stratification for lavender seed and describes a refrigerator treatment of about two to four weeks before sowing.
Research also continues to investigate cold stratification as a way to improve germination in Lavandula angustifolia.
There is a little nuance here: not every extension growing guide requires stratification, and some seed lots can germinate without it. But if your lavender seeds are stubborn, cold-moist stratification is a very reasonable technique to try.
And in my garden?
It worked! 💜

❄️How I Cold-Stratify Lavender Seeds
This is the method I use.
1. 🌱Start With Fresh Lavender Seed
Choose a reputable seed source and make sure you know what type of lavender you are growing.
If you are growing lavender from seed, remember that seedlings can vary from the parent plant, particularly when you’re growing named cultivars. Cuttings are the better choice when you want an exact genetic copy of a particular plant.
2. 💧Dampen a Paper Towel
Wet a clean paper towel and then squeeze it out well.
You want it damp, not dripping.
The seeds need moisture during the cold treatment.
3. 🌿Add the Seeds
Spread the lavender seeds over one half of the damp paper towel.
Fold the other half over the seeds and gently press it together.
4. 🏷️Bag and Label
Put the folded towel into a small resealable plastic bag.
Label it with:
Lavender variety + date
This may sound unnecessary.
It isn’t.
I have learned that if I don’t write things down, my future self will have absolutely no idea what my past self was doing.
5. ❄️Put It in the Refrigerator
Place the sealed bag in the refrigerator.
You want refrigerator temperatures—not the freezer.
A two-to-four-week cold treatment is consistent with the current recommendations.
I put a reminder on my calendar to check the seeds once a week. I check to be sure they are not drying out.
Otherwise, there is a very good chance I will forget them.
6. 💧Keep them Damp
Check the paper towel periodically.
It should remain damp but not waterlogged.
If you see mold or problems developing, remove affected material and reassess the moisture level. Remember damp not wet.
🌱What Happens After Stratification?
Now it’s time to wake those little seeds up.
Lavender seeds should be sown very shallowly. Some growing guides recommend surface sowing or only lightly covering the seed because light helps germination. My extension office recommends sowing lavender seeds on the surface of a well-drained seed-starting mix.
Keep the seed-starting medium consistently moist without keeping it soggy.
Give the seedlings plenty of light once they emerge.
And be patient.
Lavender isn’t always in a hurry. 💜
Germination can take several weeks or longer.

📅When Should You Start?
If you’re starting lavender indoors for spring planting, give yourself plenty of time.
Lavender grows slowly from seed, so I like to think of it as a long-term gardening project rather than a quick spring flower.
Start roughly 8–12 weeks before your area’s last spring frost, allowing time for stratification and germination.
Once the danger of severe frost has passed and the plants are established, they can be hardened off and moved outdoors.

🪻Plant Lavender Where It Can Breathe
When lavender is ready for the garden, choose a sunny location with excellent drainage.
Don’t crowd it.
Good air circulation helps keep foliage dry and reduces disease problems.
I especially like lavender along garden edges where I can enjoy the flowers and fragrance.
And there is another bonus:
🐝 Lavender is wonderful for pollinators!
Lavender attracts bees and other pollinating insects while giving us beautiful purple flowers to enjoy.

🫗Watering Lavender
New lavender plants need regular watering while they become established.
Once established, lavender is quite drought tolerant.
The mistake I would rather make with lavender is giving it a little too little water than keeping it constantly wet.
Wet soil is one of lavender’s biggest enemies.
Overwatering can lead to root problems and winter losses, especially in colder climates.
🌱Don’t Overfeed It
Lavender isn’t a heavy feeder.
If your soil is reasonably good and drains well, you generally don’t need to keep fertilizing it.
Too much nitrogen can encourage lots of green growth without giving you the beautiful flower display you’re hoping for and that we need for teas and oils.
Sun + drainage + patience are much more important to lavender than lots of fertilizer.
🪻Will Lavender Reseed?
It can!
And this is one of my favorite parts of growing it.
Once I finally got lavender established, I noticed little lavender seedlings appearing around the parent plants.
If you want your lavender to reseed, allow some flowers to remain on the plant and mature rather than removing every flower.
Just remember that plants grown from seed may not be identical to the parent, particularly with cultivars and hybrids. Heirloom seeds will result in identical plants to parents.
For me, those little volunteer plants are part of the fun.
🌱 A little surprise from the garden!
✂️Harvesting Lavender
When you grow lavender for dried flowers, tea, sachets or other projects, harvest at the right stage.
For dried flowers, my extension office recommends harvesting around the beginning of bloom, when some buds are opening. Harvest after the morning dew has dried and dry the stems in a warm, dry, well-ventilated place away from direct sunlight.

Once completely dry, strip the flowers from the stems and store them in a cool, dark, dry place.
And then you have lavender ready for all sorts of Nana Anne projects.
☕ Tea
🌿 Sachets
🌸 Potpourri
💜 Homemade gifts
🌱 Simply enjoying the fragrance
My Biggest Lavender Gardening Lesson
If I could go back and talk to myself during all those failed attempts, I would say:
“Don’t give up on the lavender. Give it the conditions it wants.”
Give it sun.
Give it drainage.
Give it room to breathe.
And if you’re growing it from seed and having trouble getting it started, try cold-moist stratification.
That’s what finally made the difference for me.
Now when I see those purple flowers waving in the garden, I don’t just see a pretty plant.
I see the little seeds that refused to cooperate until I figured out what they needed.
And honestly, that makes me appreciate them even more.
🌱Nana Anne’s Garden Tip
Lavender likes sunshine, good drainage and patience. Don’t drown it with kindness!
And if you’re starting from seed, remember that cold stratification may improve germination—especially if your seeds have been stubborn.
Remember your zone and the seeds you pick will vary the growing conditions needed. Check your local extension for recommendations suited to your area.
Once your lavender is growing, here’s how Nana Anne uses those beautiful flowers for tea, bedtime and around the home.
🌸 Once your lavender is growing and blooming, discover all the ways Nana Anne enjoys it at home in [Lavender for Tea, Sleep & Around the Home], from a relaxing lavender-chamomile tea to fragrant sachets for your closets. 💜🌿
Happy gardening!